Learning how to zero a scope is a crucial step in ensuring your airgun is accurate and effective at different ranges. Like firearm shooters, airgunners face challenges such as pellet drop, wind drift, and varying power levels. This guide will take you through the process of zeroing your scope while also covering key features of airgun optics like reticles and focal planes.
Mounting Your Scope Properly
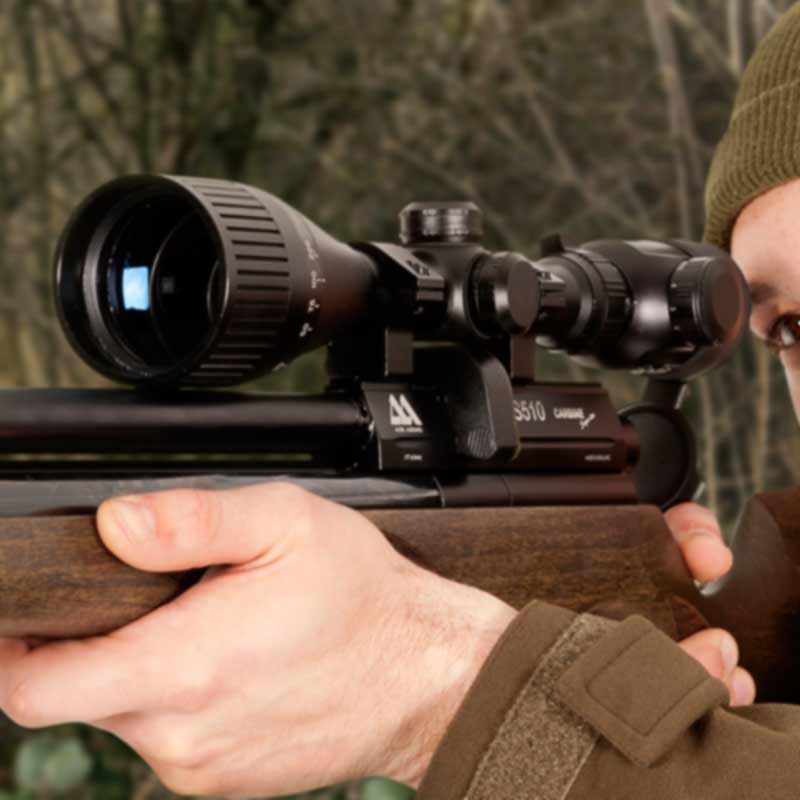
Before zeroing, it’s essential to mount your scope correctly. Start by selecting the appropriate mounts for your rifle—most air rifles use either dovetail or Picatinny rails. Ensure the mounts are secure and aligned properly before placing the scope in the rings. Tighten the screws evenly, one at a time working round the scope, but avoid overtightening. The mount screws want to be touch tight, DO NOT crank them as tight as they will go or you are likely to crush the scope tube, rendering them useless.
Once mounted, position the scope so that you have a clear, full field of view when holding your rifle in a natural shooting position. Adjust the eye relief—the distance between your eye and the scope’s ocular lens—so you don’t experience any dark edges in your sight picture. Finally, ensure the reticle is perfectly level by eye or using a levelling tool. If it needs levelling, loosen the scope mounts slightly and turn the body of the tube until it is perfect.
Choosing Your Zero Range
When learning how to zero a scope, choosing the correct zero range is crucial due to the arc-like trajectory of pellets. Common zero distances include 10m to 20m, which is ideal for indoor shooting or backyard plinking. A zero of 25m to 30m is a good all-round setting for hunting and target shooting with a standard 12 ft-lbs air rifle, which is the UK legal limit without a firearms certificate, while 35m to 50m is best suited for high-powered airguns shooting at longer distances.
The calibre of your airgun also plays a role in selecting your zero distance. A .177 calibre pellet has a flatter trajectory than a .22 calibre due to its higher velocity and lighter weight, meaning it can maintain accuracy over longer distances with less drop. However, the .22 calibre has more stopping power and is often favoured for hunting, as it retains more energy on impact. What this means is a .177 calibre gun may benefit for a slightly longer zero distance of 30m whereas a .22 is better suited to 25m or under.
Setting Up for Zeroing
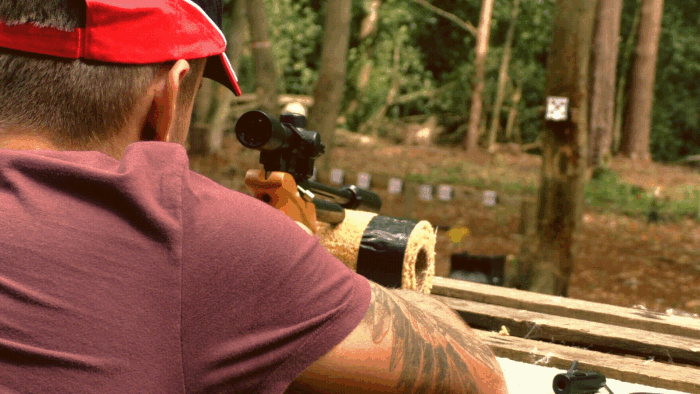
To achieve an accurate zero, set up a shooting rest or use sandbags to eliminate movement and stabilize your rifle. Place a paper target at your chosen zero distance, preferably with a grid pattern or bullseye to make adjustments easier. I would also recommend using flathead or wadcutter pellets as they punch clean holes in paper or card making the exact point of impact easy to work out.
If your scope has an adjustable objective (AO) or side focus, set it to match your shooting distance to eliminate parallax error and ensure a crisp image. Also, adjust the magnification to a comfortable level—higher magnification allows for precise adjustments but may exaggerate movement. On UK legal airguns, I find between 4x – 6x to be a sweet spot but your milage may vary.
Shooting and Making Adjustments
Now for the best part of learning how to zero a scope, taking some shots! Aiming at the dead centre of the target, fire five shots to establish a grouping. This step helps identify consistent shot placement rather than adjusting for stray shots caused by shooter error or environmental factors such as wind. Once you have a clear group, retrieve your target and determine how far off your point of impact (POI) is from your point of aim (POA).
A tight grouping, even if off-centre, is more valuable than a loose one. If your shots are landing close together, it means your rifle and scope setup is consistent, and you only need to adjust your turrets to bring the group to the correct point of aim. On the other hand, a scattered group suggests an issue with technique, pellet choice, or equipment stability. Always focus on achieving a small, repeatable cluster before making adjustments to align it with the bullseye.
Use your scope’s turrets to adjust accordingly. The elevation turret moves the POI up or down, while the windage turret moves it left or right. Most scopes adjust in increments such as 1/4 or 1/8 MOA (minute of angle) per click. Continue shooting small groups and making fine adjustments until your POI aligns with your POA.
Understanding Your Scope’s Features
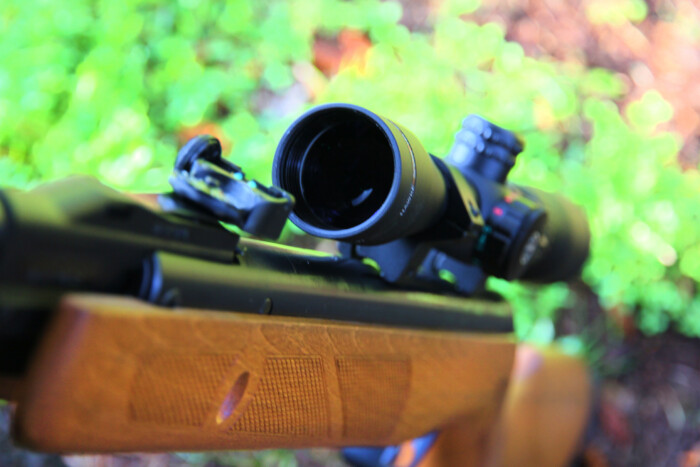
Airgun scopes often come with different reticle styles, focal planes, and adjustable objectives. The adjustable objective (AO) helps eliminate parallax error and allows you to focus sharply at different distances, which is particularly useful for airgunners since we often shoot at closer ranges than firearm users.
An illuminated reticle is great for low-light shooting but I wouldn’t recommend zeroing a scope in low light. First focal plane (FFP) scopes change the reticle size as you adjust magnification, meaning your holdovers remain accurate at any zoom level. Second focal plane (SFP) scopes keep the reticle the same size, meaning the reticle will be fixed at one magnification setting so manual adjustment will be needed when shooting at different zoom settings.

Understanding Reticles and Holdovers
Holdover refers to the practice of aiming above your target to compensate for pellet drop at different distances. Since pellets follow a curved trajectory, holding over ensures that your shot lands where intended without needing to adjust the turrets.
For example, if you have zeroed your rifle at 20m and are shooting at a target 30m away, the pellet will have dropped by the time it reaches the target. Instead of adjusting the turret, you can use a mil-dot reticle to aim slightly above the target—perhaps using the first dot below the crosshair—to compensate for the drop. Similarly, if shooting at a closer target than your zero distance, you may need to aim slightly lower.
Different reticles impact how you use your holdovers when learning how to zero a scope. A mil-dot reticle is useful for holdovers at different ranges, as each dot represents a specific adjustment. A duplex reticle offers simple crosshairs, which are best suited for close-range shooting. Understanding how your reticle corresponds to your pellet trajectory allows for more accurate shooting without constantly adjusting your turrets.
Final Checks: Now you know How to Zero a Scope
Once you’re happy with your zero, test your rifle at different distances to understand pellet drop. Take note of how much adjustment is needed for various ranges, and practice using holdovers rather than making constant turret adjustments. This will improve your shooting efficiency and accuracy in real-world scenario
Zeroing your airgun scope correctly is key to accurate shooting, whether for target practice or hunting. By following the step-by-step process of mounting your scope, selecting the right zero range, refining your aim with proper adjustments, and understanding how to compensate for pellet drop using holdovers, you’ll improve both your accuracy and confidence. Happy shooting!
Frequently Asked Questions (FAQs)
1. How often should I re-zero my airgun scope?
If you haven’t changed pellets or adjusted your scope, your zero should remain consistent. However, factors like knocks, temperature changes, or recoil from high-powered airguns can shift your zero. It’s a good idea to check it periodically, especially before a hunting trip or competition.
2. Why does my point of impact change at different distances?
Pellets follow a curved trajectory, meaning they rise and fall as they travel.* If your scope is zeroed at a specific range, the pellet’s point of impact will often be high at shorter and lower at longer distances due to gravity and air resistance. You will have to adjust for this when shooting in the field.
3. Why is my scope not holding zero?
This could be due to loose scope mounts, inconsistent shooting technique, or an issue with the scope itself. Check that your mounts are secure, your scope isn’t shifting, and that you’re using quality pellets. If the issue persists, try a different scope or mount system.
4. Can I zero my airgun indoors?
Yes! If you have a safe shooting distance of at least 10m, you can zero your airgun indoors and fine-tune adjustments outdoors at longer ranges. Using an adjustable scope mount can help if you have a limited shooting range indoors.
5. Should I use high or low scope mounts?
Lower mounts help maintain a natural cheek weld and reduce parallax issues. However, some air rifles may require higher mounts to clear the magazine or barrel. The key is to mount the scope as low as possible while still maintaining a comfortable sight picture.
*they don’t actually rise, it just appears as if they do but that is a conversation for another time.
If you are looking for a scope to put these new skills to the test click here